Skip to content
Secret Science Lab
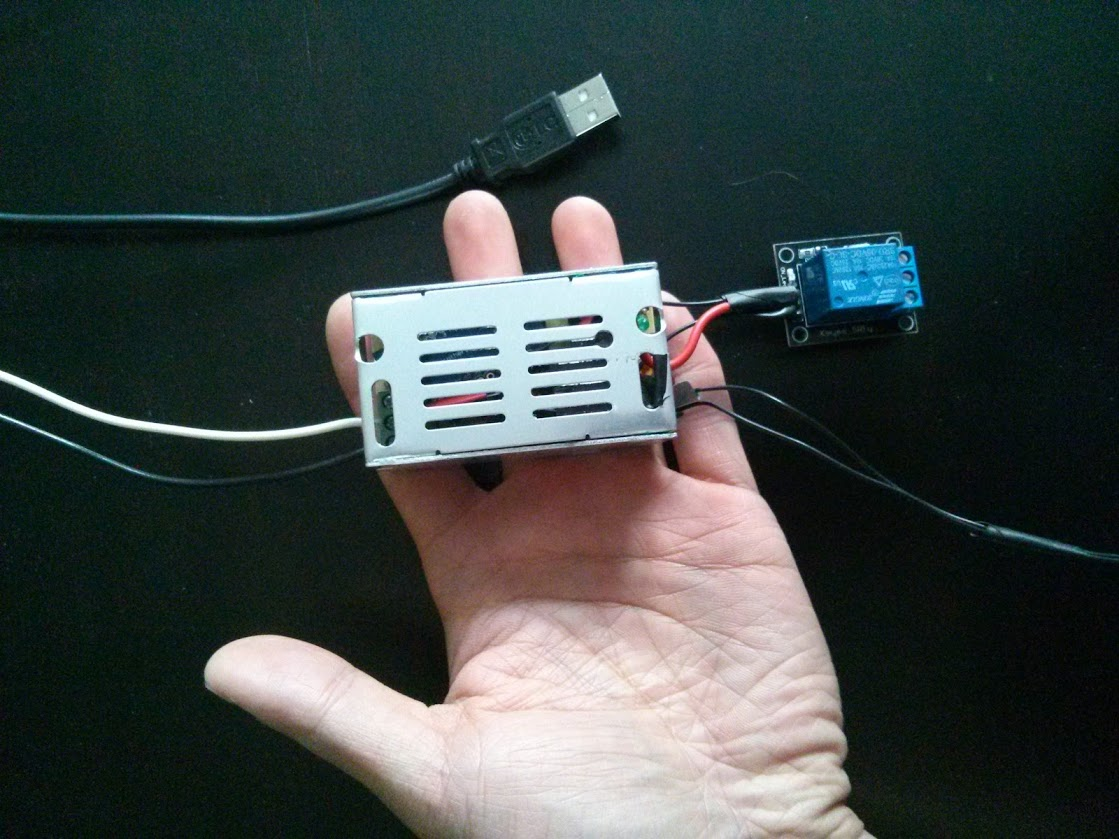
DIY home automation almost-instant-response WIFI smart switch for < $16 with MQTT
Posted by
Aaron
May 8, 2016
March 1, 2018
Leave a comment
on DIY home automation almost-instant-response WIFI smart switch for < $16 with MQTT